PowerPoint presentations are widely used in business, education, and professional communication. However, one common issue users face is oversized presentation files caused by high-resolution images. These large images slow down performance, make files difficult to share, and can even cause crashes during editing or presenting.
That is why learning how to compress images in PowerPoint is extremely important. When you optimize images properly, you can dramatically reduce file size while maintaining clear and professional visuals. This ensures smoother performance, faster loading times, and easier sharing through email or cloud platforms.
Many users assume that reducing file size means sacrificing quality, but PowerPoint offers several smart tools that help strike a balance between compression and clarity. You can compress images individually or apply compression to all images at once, depending on your needs.
In addition to built-in tools, there are external methods and best practices that can further reduce file size before and after inserting images into slides. These techniques are widely used by professionals who deal with large presentations daily.
In this guide, you will learn multiple methods for compressing images in PowerPoint, including step-by-step instructions, advanced optimization techniques, and professional best practices. Whether you are a student, marketer, or business professional, these methods will help you create lightweight, high-performing presentations that still look visually appealing and professional.
Importance of Compressing Images in PowerPoint
Images are the biggest reason PowerPoint files become heavy. When you insert high-resolution photos or screenshots, the file size increases quickly. This makes it harder to send presentations via email or upload them to cloud storage.
Understanding how to compress images in PowerPoint helps solve this problem effectively. Compression reduces unnecessary image data while keeping visuals sharp enough for presentations. This ensures better performance without visible quality loss.
Another reason compression is important is its impact on system efficiency. Large PowerPoint files take longer to open, especially on older devices. This can create delays during meetings or lectures.
When you learn how to compress images in PowerPoint, you also improve collaboration. Team members can easily share files without worrying about size limits.
Finally, optimized presentations create a professional impression. A smooth, fast-loading slide deck reflects attention to detail and technical skill.
Step-by-Step Process to Compress Images in PowerPoint
Compressing images in PowerPoint becomes much easier when you follow a clear step-by-step process. It helps you quickly reduce file size, improve slide performance, and maintain good visual quality. By understanding each step, you can optimize your presentation efficiently and avoid common mistakes that lead to heavy files.
Insert Images into PowerPoint Slides
Start by adding images using Insert → Pictures. This is where compression begins.
Access Picture Format Tools
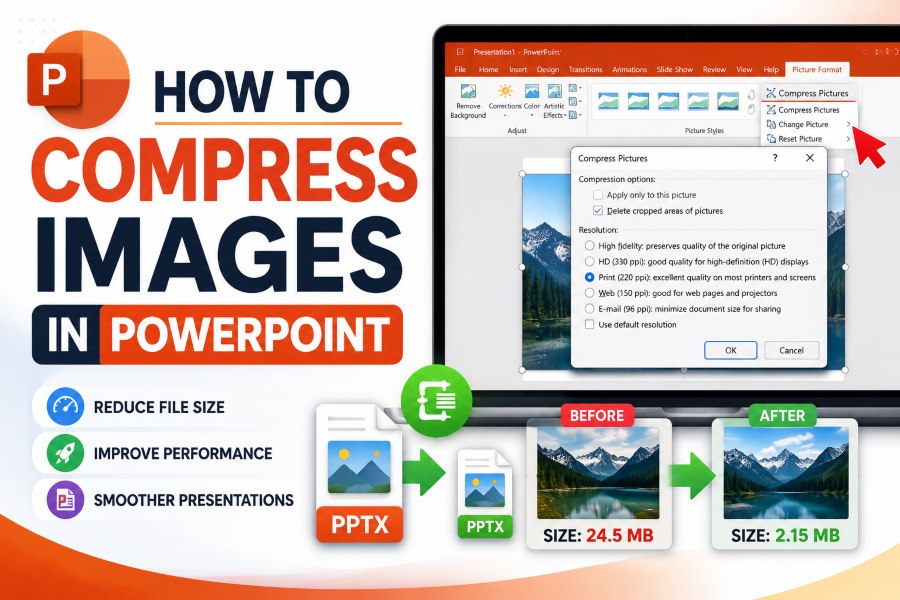
Click any image, then open the “Picture Format” tab to access compression features.
Use the Compress Pictures Option
Select “Compress Pictures” to open settings for resolution and optimization.
Choose Compression Settings
Pick 220 ppi for print or 150/96 ppi for screen use, depending on quality needs.
Apply Compression Effectively
Choose whether to compress one image or all images in the presentation.
Advanced Methods for How to Compress Images in PowerPoint
- Use external compression tools before inserting images
Tools like online compressors reduce file size before PowerPoint even processes them. - Remove cropped image data permanently
Cropped areas remain in files unless deleted, increasing hidden size. - Convert images to efficient formats
JPEG is ideal for photos; PNG should be used only when transparency is needed. - Resize images before inserting them into slides
Large dimensions should be reduced using editing tools. - Avoid unnecessary image duplication
Reusing optimized assets prevents file bloating. - Optimize screenshots before adding
Screenshots often contain unnecessary high resolution.
These strategies improve how to compress images in PowerPoint beyond the built-in features.
Detailed Explanation of Compression Techniques and Tools
Learning how to compress images in PowerPoint involves more than just clicking a button. PowerPoint provides multiple ways to optimize images, but understanding how each method works gives better results.
Built-in compression tools allow users to instantly reduce resolution. This is useful when you want quick optimization without external software. However, advanced users often combine this with external tools for better efficiency.
Online compressors reduce file size before images are added to slides. This helps ensure that PowerPoint does not need to handle large files in the first place. It is one of the most effective methods for maintaining performance.
Image editing software also provides precise control over compression levels. Users can manually adjust quality settings, remove metadata, and export optimized versions for PowerPoint.
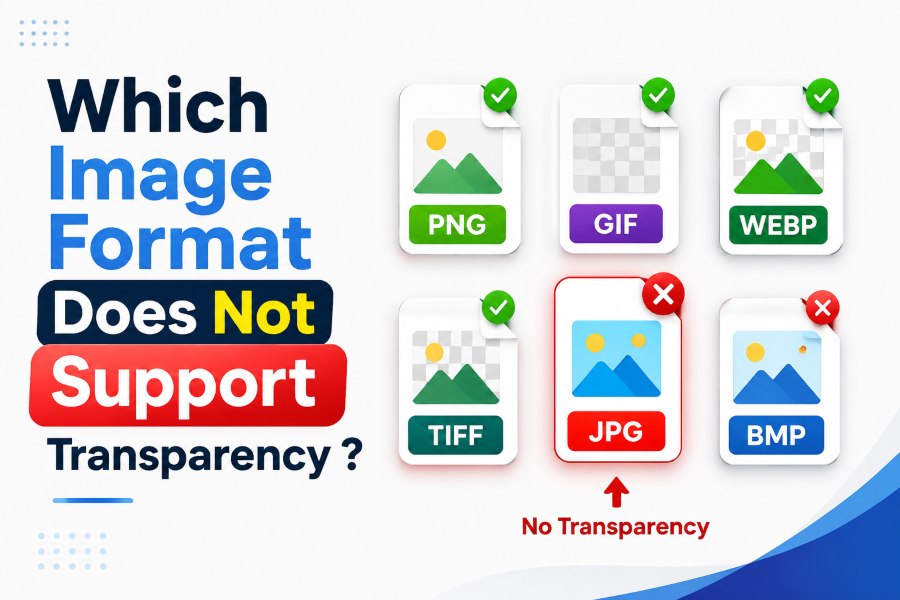
Another important factor is format selection. JPEG images are smaller and ideal for most presentations, while PNG should be reserved for graphics with transparency. Choosing the right format significantly impacts the final file size.
Best Practices for How to Compress Images in PowerPoint
Following best practices for compressing images in PowerPoint helps you reduce file size while keeping slides clear and professional. By using the right image formats, proper resolution, and smart compression settings, you can improve performance and make presentations easier to share. These simple practices ensure your slides stay lightweight without losing visual quality.
Start with Optimized Images
Always compress images before inserting them into PowerPoint.
Use Proper Resolution Settings
Choose a resolution based on usage—web, screen, or print.
Limit High-Resolution Graphics
Avoid unnecessarily large images in slides.
Clean Presentation File Regularly
Remove unused slides, hidden objects, and duplicate images.
Use Smart File Formats
JPEG for photos, PNG only for transparent visuals.
Test File Size After Compression
Always check the final file size before sharing.
Concluding Remarks
Mastering how to compress images in PowerPoint is essential for creating fast, efficient, and professional presentations. By using built-in tools, external compressors, and proper optimization techniques, you can significantly reduce file size without losing visual quality.
Whether you are preparing business reports or academic slides, learning how to compress images in PowerPoint ensures better performance, smoother sharing, and an improved presentation experience.
FAQ’s
What is the easiest way to compress images in PowerPoint?
Use the built-in “Compress Pictures” option under Picture Format.
Will compression reduce image quality?
Slightly, but proper settings maintain good visual clarity.
Can I compress all images at once?
Yes, PowerPoint allows batch compression for all images.
What resolution should I choose?
150 ppi is ideal for most screen presentations.
Does removing cropped areas help?
Yes, it significantly reduces hidden file size.
Should I compress images before inserting them?
Yes, external compression improves overall performance greatly.